2. Create a Windows Service
3. Makeup of a Windows Service
4. Install the Windows Service
5. Debug the Windows Service
6. Questions with Answers based on Window Services
1. Introduction
In this document we'll explore how to create an application known as a Windows Service. We will cover what Windows Services are and how to create, install, and debug them. It will involve using classes in the System.ServiceProcess.ServiceBase namespace.
Before sharing the knowledge about windows service, I will thanks you Mr.Rajesh.We together worked in windows services for MIS.We had good fun while developing the windows services.
Windows Service applications are long-running applications that are ideal for use in server environments. The applications do not have a user interface or produce any visual output. Any user messages are typically written to the Windows Event Log. Services can be automatically started when the computer is booted. They do not require a logged in user in order to execute and can run under the context of any user including the system. Windows Services are controlled through the Service Control Manager where they can be stopped, paused, and started as needed.
Windows Services, formerly NT Services, were introduced as a part of the Windows NT operating system. They are not available on Windows 9x and Windows Me. You need to use one of the operating systems in the NT generation such as Windows NT, Windows 2000 Professional, or Windows 2000 Server to run a Windows Service.
2. Create a Windows Service
Visual Studio .NET makes it relatively simple to create a Windows Service. The instructions for starting our demo service are outlined below.
1. Start a new project
2. Select Windows Service from the list of available project templates

3. Makeup of a Windows Service
In the code behind class you will notice that your Windows Service extends the System.ServiceProcess.Service class. All Windows Services built in .NET must extend this class. It requires your service to override the following methods which Visual Studio will include by default.
* Dispose - clean up any managed and unmanaged resources
* OnStart - control the service startup
* OnStop - control the service stoppage
4. Install the Windows Service
Windows Services are different than normal Windows based applications. It is not possible to run a Windows Service by simply running an EXE. The Windows Service should be installed by using the InstallUtil.exe provided with the .NET Framework or through a deployment project such as a Microsoft Installer (MSI) file.
Add an Installer
Having created the Windows Service will not be enough for the InstallUtil program to be able to install the service. You must also add an Installer to your Windows Service so that the InstallUtil, or any other installation program, knows what configuration settings to apply to your service.
1. Switch to the design view for the service
2. Right click and select Add Installer

3. Switch to the design view of the ProjectInstaller that is added

4. Set the properties of the serviceInstaller1 component
1. ServiceName = My Sample Service
2. StartType = Automatic
5. Set the properties of the serviceProcessInstaller1 component
1. Account = LocalSystem

6. Build the Solution
The following code contained in the ProjectInstaller.cs source file was automatically generated by Visual Studio after having completed the steps above.
using System.ServiceProcess;
namespace WindowsServices
{
partial class ProjectInstaller
{
///
/// Required designer variable.
///
private System.ComponentModel.IContainer components = null;
///
/// Clean up any resources being used.
///
/// true if managed resources should be disposed; otherwise, false.
protected override void Dispose(bool disposing)
{
if (disposing && (components != null))
{
components.Dispose();
}
base.Dispose(disposing);
}
#region Component Designer generated code
///
/// Required method for Designer support - do not modify
/// the contents of this method with the code editor.
///
private void InitializeComponent()
{
this.serviceProcessInstaller1 = new System.ServiceProcess.ServiceProcessInstaller();
this.serviceInstaller1 = new System.ServiceProcess.ServiceInstaller();
//
// serviceProcessInstaller1
//
this.serviceProcessInstaller1.Password = null;
this.serviceProcessInstaller1.Username = null;
//
// serviceInstaller1
//
this.serviceInstaller1.ServiceName = "MyFirstService";
this.serviceInstaller1.StartType = ServiceStartMode.Automatic;
this.serviceInstaller1.DisplayName = "MyFirstWindowsService";
this.serviceProcessInstaller1.Account = ServiceAccount.LocalSystem;
//
// ProjectInstaller
//
this.Installers.AddRange(new System.Configuration.Install.Installer[] {
this.serviceProcessInstaller1,
this.serviceInstaller1});
}
#endregion
private System.ServiceProcess.ServiceProcessInstaller serviceProcessInstaller1;
private System.ServiceProcess.ServiceInstaller serviceInstaller1;
}
}
Use InstallUtil to Install the Windows Service:

Now that the service has been built you need to install it for use. The following instructions will guide you in installing your new service.
1. Open a Visual Studio .NET Command Prompt and type below command.
2. C:\WINDOWS\Microsoft.NET\Framework\v2.0.50727>InstallUtil -i “Service.exe URL”
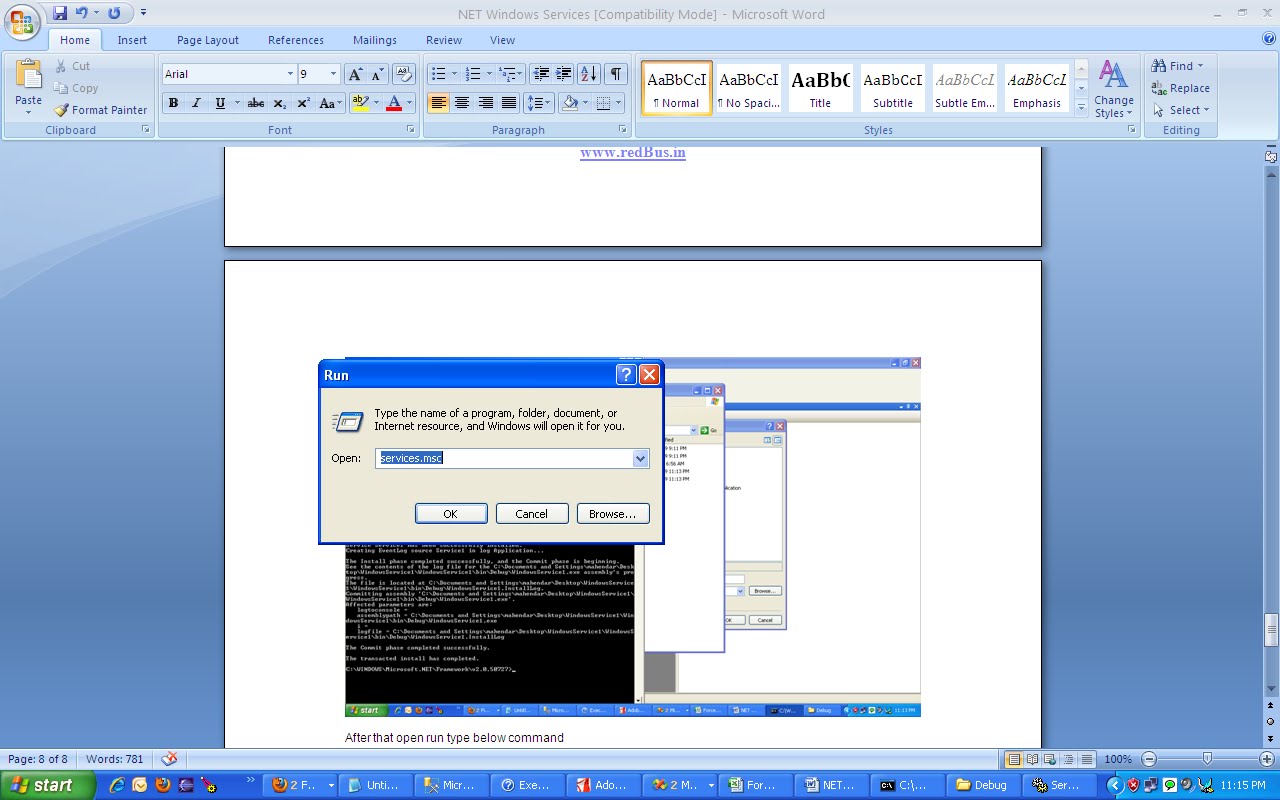
After that open run type below command
Services.msc
Right click on the service click start.

5. Debug the Windows Service
As with all other aspects, debugging a Windows Service is different than a normal application. More steps are required to debug a Windows Service. The service cannot be debugged by simply executing it in the development environment as you can with a normal application. The service must first be installed and started, which we covered in the previous section. Once it is started you attach Visual Studio to the running process in order to step through and debug the code. Remember, each change you make to the Windows Service will require you to stop the service rebuild the application then start the service.
Attach to a Running Windows Service
Here are the directions for attaching to a Windows Service in order to debug the application. These instructions assume that you have already installed the Windows Service and it is currently running.
1. Load the project into Visual Studio
2. Click on the Debug menu
3. Click on the Processes menu item
4. Make sure the Show system processes is selected
5. Locate your process in the Available Processes list based on the name of your executable and click on it
6. Click the Attach button
7. Click OK
8. Click Close
9. Set a break point in the method and wait for it to execute.
6. Questions with Answers based on Window Services
Read these questions and think of possible answers. Compare your thoughts with the answers given in the "Answers" section.
Questions
1. Can we debug windows service without installing it on the computer?
2. Can we debug the OnStart method of windows service?
3. Is there any alternative for windows service application?
4. How to start, pause, continue and stop the service using command line?
5. How to set permissions on windows service?
6. Can we share the process among multiple windows services?
7. Is there way to create installer other than by using Setup project template of Visual Studio?
Answers
1. No, we cannot debug windows service without installing and starting it. However, we can debug the functional part by creating separate assemblies using console or windows application
and then use the debugged assembly in windows service project. This is not possible in all cases, especially when we need to debug run time issues.
2. As the service must be started to attach its process to debugger, we need the service to be started in advance. Hence, normally we cannot debug the OnStart method of service.
However, we can make an extra dummy windows service which should internally start the actual service. By attaching debugger to the process of dummy service we can step into the OnStart method of actual service to debug it.
3. Probably, we can use Windows Operating System’s Schedule Tasks as an alternative of windows service. We can implement required functionalities in a valid program and then configure it with Schedule Tasks.
4. To start, pause, continue and stop the service through command line use net start ServiceName, net pause ServiceName, net continue ServiceName and net stop ServiceName, respectively.
5. Permissions for windows service depend upon the account type (Local Service/Network Service/Local System/User) set for the service. If service is set to use particular user account then permissions set for specified user becomes the permission for the service.
6. Yes, windows services could be implemented like other exe applications if they do not need GUI. One major difference is that windows service is managed by SCM (Service Control Manager) which provides options to implement many settings and events. Internally the Main method of the service application issues the Run command and then Run method loads the service in SCM.
7. We can create installer using command-line utility Installutil.exe by passing the path of service's executables.
Hello Bhaskar,
ReplyDeleteNice article and thanks to share it. But you did not mentioned anything about Project Installer accoun types in this article which is an important part. failing approriate account type may fail service to work.
So you should mention these also clearly.
Regards,
Navin